Review imported transactions in Quicken separately
Once transactions are imported into Quicken, it would be great to see them in a separate place. This article shows how to do it.
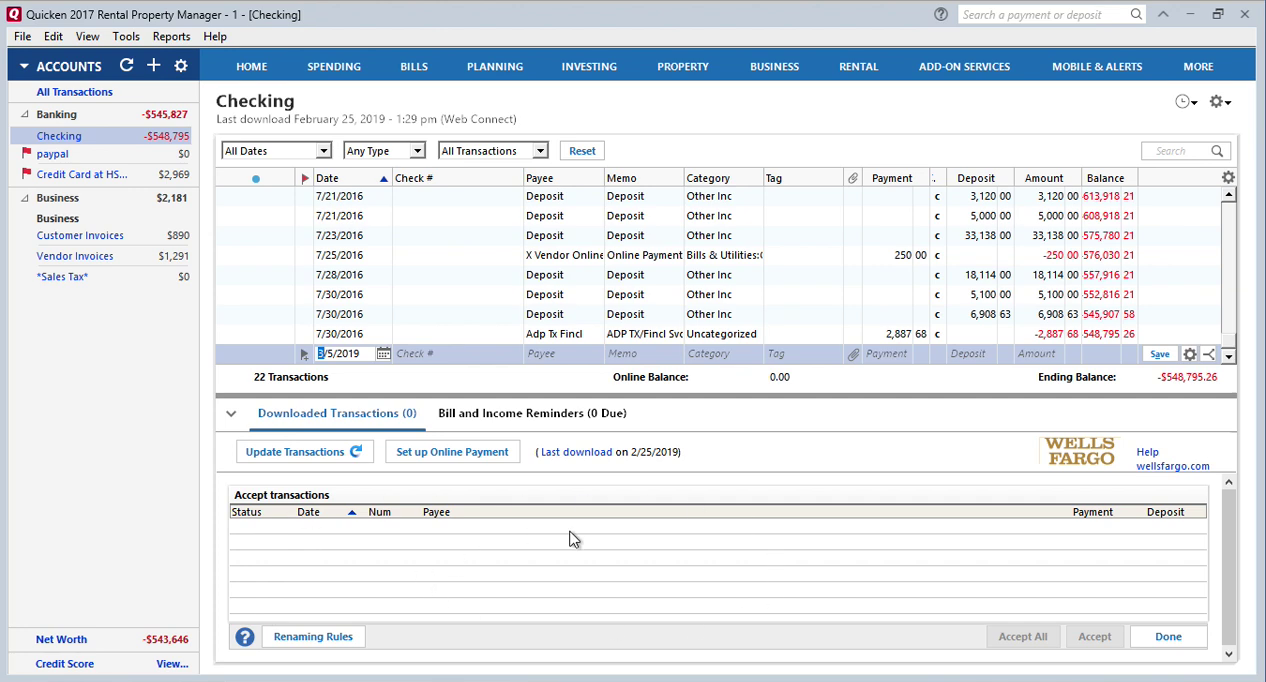
Let's import transactions in Quicken into that area at the bottom. When you import a QIF file, a QFX file and don't want transactions to go right into the register, you want to see them separately. It is very useful, because, let's say, if you have already transactions in this date range or if you just want to see what is imported.
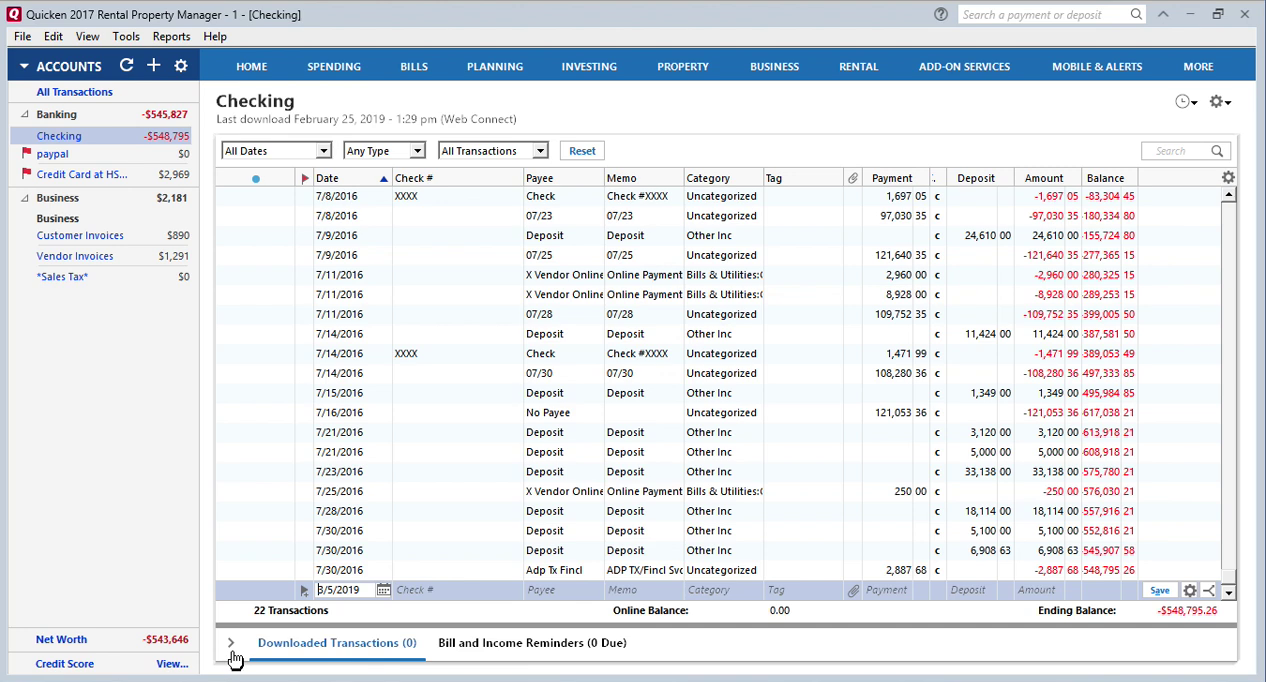
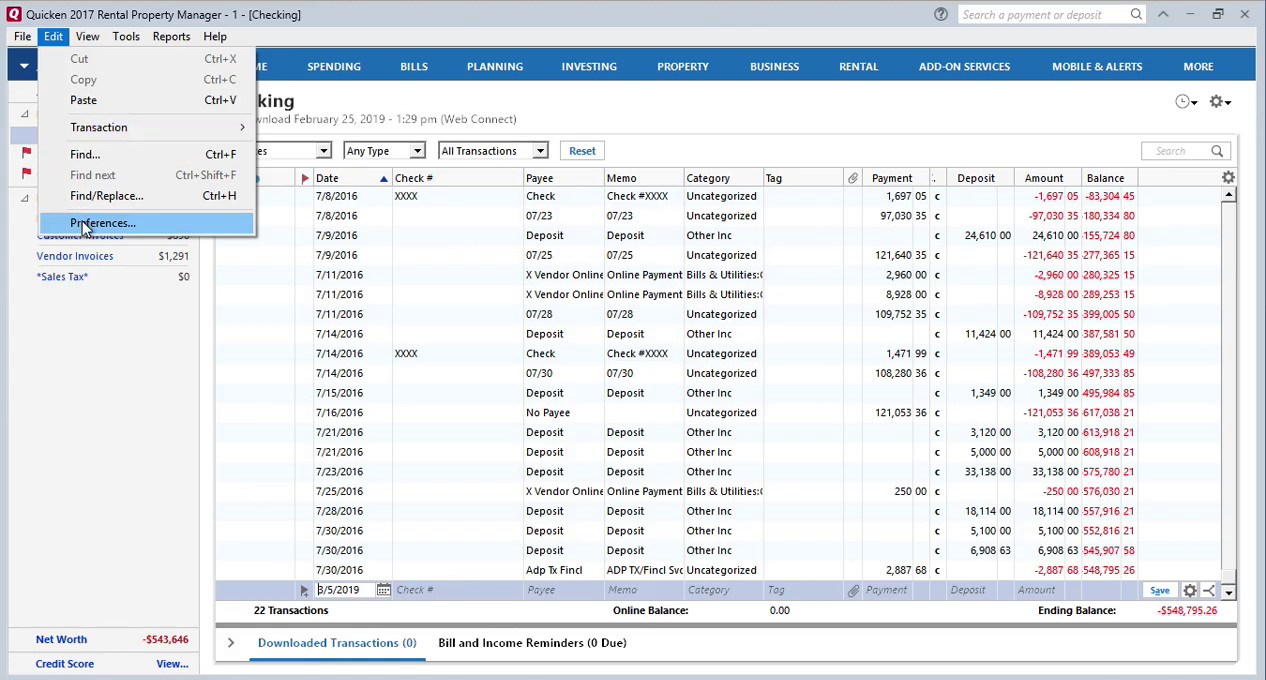
First, click 'Edit' - 'Preferences'.
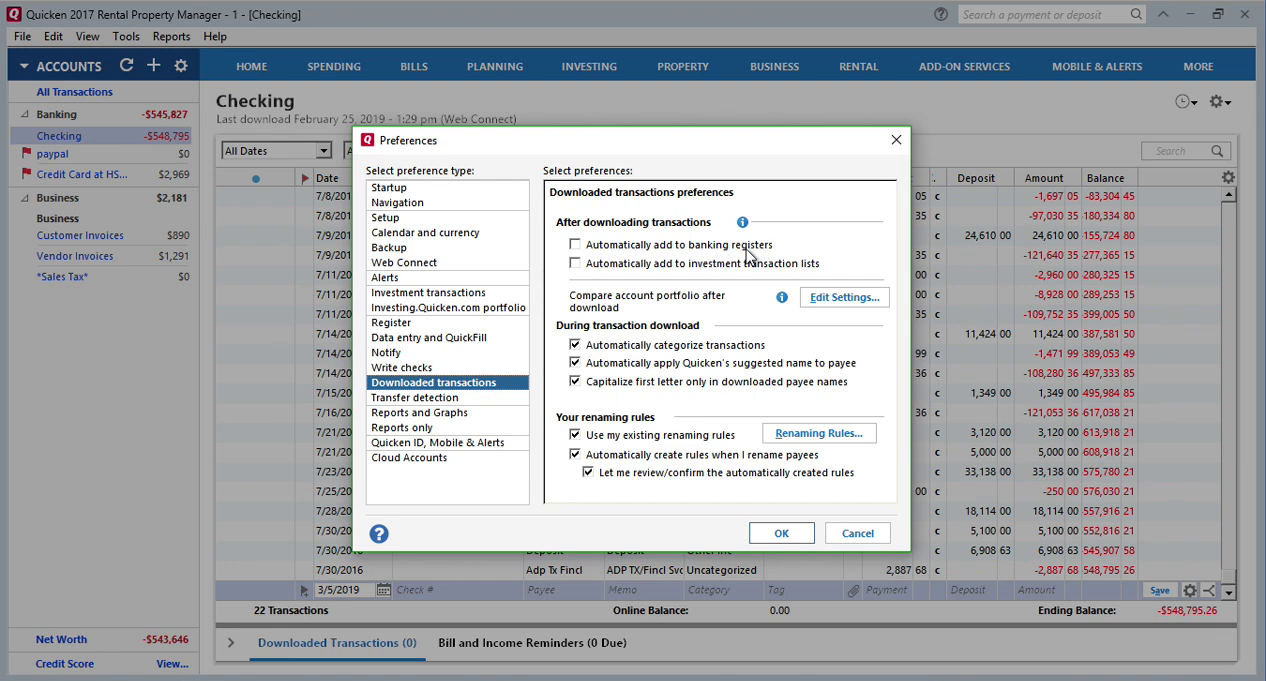
Click on 'Downloaded transactions' and uncheck 'Automatically add to banking registers'. When you uncheck this, transactions will go to that bottom area.
When you import transactions, they will be first here. Then you can 'Accept All', delete transactions, you will see them separately after import.
Learn More
- QFX - What is QFX file/format and how to open it?
- QIF - What is QIF file/format and how to open it?
- Quicken - How To Import QIF or QFX into Quicken
Related articles
- How to Convert CSV to QFX Quickly and Easily
- Convert CSV/Excel to QIF and import into Quicken, Banktivity, MYOB #quicken
- What are OFX, QFX, QBO (Web Connect) files?
- How to Convert Bank Statement PDF to CSV
- Convert PDF to QFX and import into Quicken Classic
- Convert PDF to QIF and import into Quicken Classic, Banktivity, YNAB, MYOB
- How to Convert QFX to CSV or Excel