Convert PDF to QIF and import into Quicken Classic, Banktivity, YNAB, MYOB
Need to import bank or credit card transactions in a PDF file into Quicken for Windows or other QIF importing software or online service, but cannot seem to make it work? The problem is that your bank only provides transactions in a format that Quicken Classic, MYOB or other QIF importing software or online service cannot read.
The Solution: try the ProperConvert app. It can convert your transactions from PDF to QIF format ready to import into Quicken Classic, MYOB, Banktivity, YNAB.
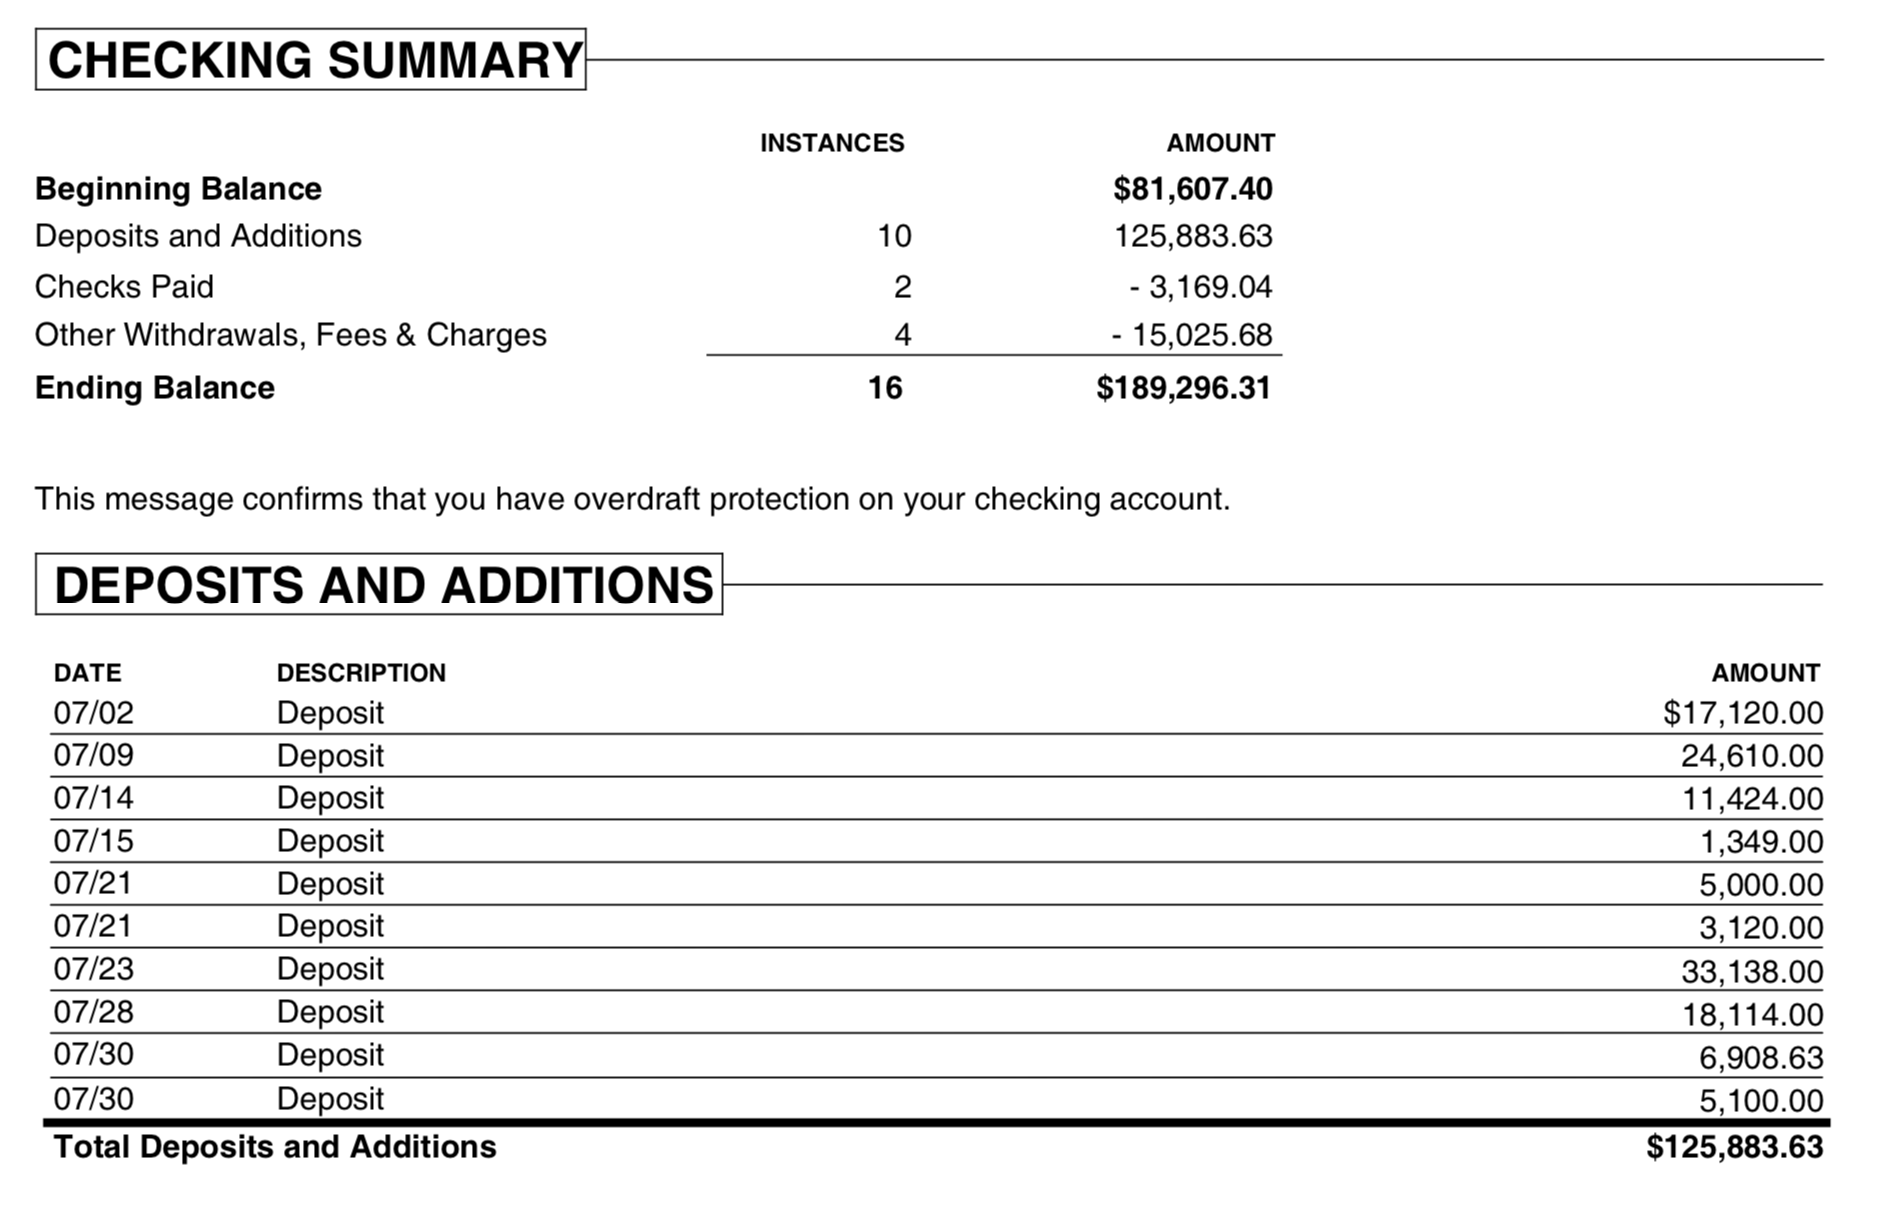
Convert transaction files from PDF to the QIF format
- ProperConvert extracts transactions from PDF files. It creates QIF files ready to import into Quicken for Windows or other QIF importing software or online service.
- No data entry: convert data you already have in bank, credit card or investment transactions file format to the QIF format
- Smart: ProperConvert understands many layouts. It finds columns like date, amount, description, etc. of your transactions.
- Easy to use: Converting your banking transactions into QIF files could not be any easier. In a few clicks, you will have all your transactions converted to importable by Quicken for Windows or other QIF importing software or online service format in no time at all.
- Free trial and support: try it for Free before you buy and receive full support before and after you order.
- Safe to use: ProperConvert converts all your banking transactions on your computer.
How can I use ProperConvert to convert transactions from PDF format?
- Download, install and run the software
- Select a PDF file with transactions and review transactions
- Backup your accounting software file before importing any file
- Click Convert to convert PDF to a QIF file
- Import created file to Quicken for Windows or other QIF importing software or online service
Convert PDF to QIF and import into Quicken
This tutorial shows how to convert a PDF file from your bank or credit card statement to QIF and import into Quicken.
Use the ProperConvert app to convert PDF to QIF. Other formats are supported as well.
Step by step instructions for Windows
Follow the steps below for the Windows version, followed by the Mac version.
Make sure you are using the latest version of ProperConvert. Download it from the download page. Start the app and select a PDF file.
Review transactions before converting. Check that dates are correct, have a correct year (Date), amount, withdrawals, and deposits are shown in corresponding columns, check number (Doc/Check#) is assigned.
Make sure to select the QIF target correctly to match the Quicken version or your accounting software: Quicken 2018+, Quicken 2017, Quicken 2015-2016, Quicken 2014 or earlier, Banktivity, Microsoft Money, NetSuite, MYOB, Reckon, YNAB.
Set the Account Name and the Account Type to create a QIF file for the right account. This is optional for Quicken 2018 or later, but it is important to have the matching account name in Quicken for Quicken 2017 for Windows.
Click the 'Convert' button to create a QIF file.
Confirm the file name and location.
Import created QIF file into Quicken
Now the QIF file is created, let's switch to Quicken and import created QIF file. Before importing a QIF file, make sure to backup your data. To import a QIF file, select 'File' - 'File Import' - 'QIF File', select created QIF file.
For Quicken 2017 or earlier it is important to select "All Account". For Quicken 2018 or later you have to select the actual account.
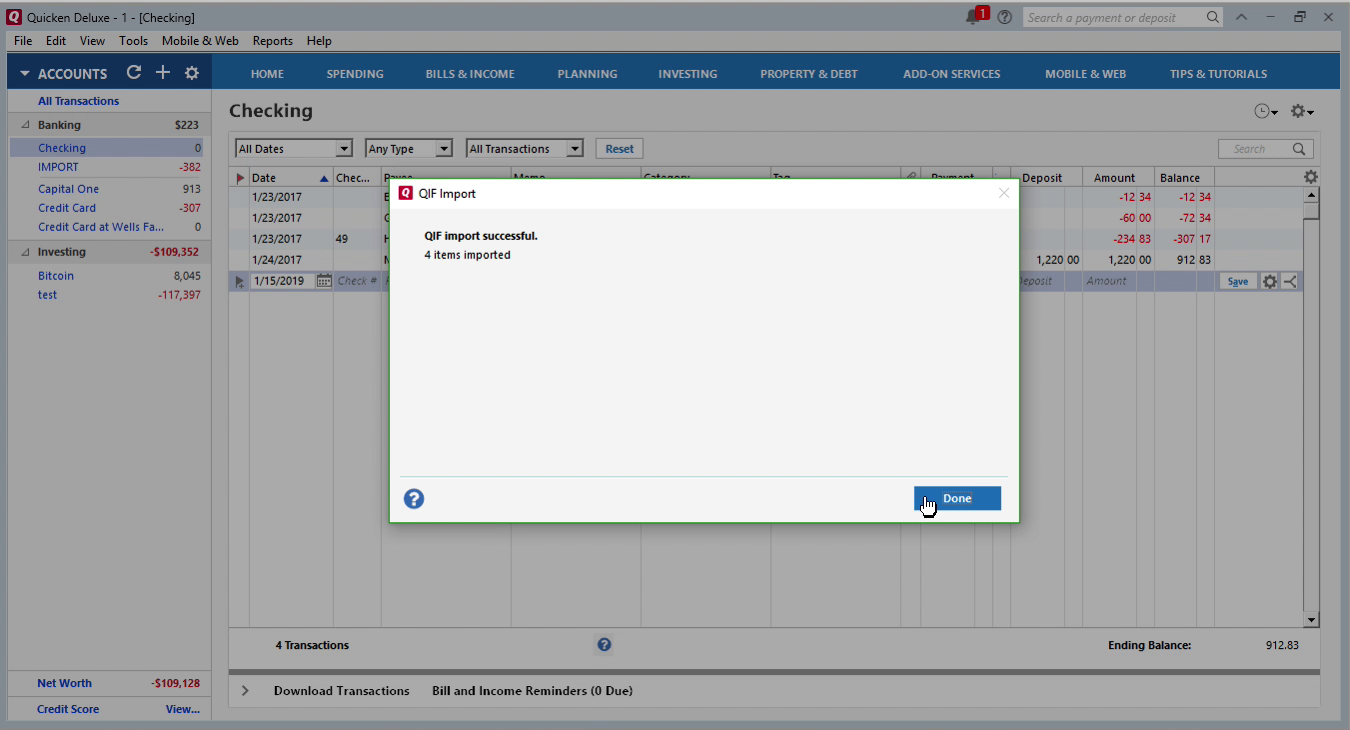
Then click the 'Import' button.
Then click the 'Done' button.
Now your data is imported. You can accept all transactions.
You can review transactions. They are now in the register.
See this windows tutorial as a video:
Step by step instructions for macOS
Make sure you are using the latest version of ProperConvert. Download it from the download page. Start the app and select a QIF file.
Review transactions before converting. Check that dates are correct, have the correct year (Date), amount, withdrawals, and deposits are shown in corresponding columns, check number (Doc/Check#) is assigned.
Make sure to set the Account Name to match what you have in your accounting software and the Account Type to create a QIF file for the right account.
Select the QIF Target to match your Quicken version or your accounting software.
Click the 'Convert' button to create a QIF file.
Confirm the file name and location.
Import created QIF file into Quicken 2007
Now the QIF file is created, let's switch to Quicken and import created QIF file. Before importing a QIF file make sure to backup your data. To import a QIF file, select 'File' - 'Import' - 'From QIF', select created QIF file.
Pay attention that the Account Name must match what you have in Quicken. Because Quicken imports directly in that account without asking anything. And if you don't have an account specified on the QIF file, this account will be automatically created. Now your transactions are imported. You can categorize, review, delete them. They are already inside Quicken.
See this macOS tutorial as a video:
Learn More
- OFX - What Is OFX File Format and How to Open it?
- QIF - What is QIF file/format and how to open it?
- Quicken - How To Import QIF or QFX into Quicken
Related articles
- Convert CSV/Excel files to OFX and import into Quickbooks Online, Xero, Microsoft Money
- How to Convert CSV to QFX Quickly and Easily
- Convert CSV/Excel to QIF and import into Quicken, Banktivity, MYOB #quicken
- What are OFX, QFX, QBO (Web Connect) files?
- How to Convert Bank Statement PDF to CSV
- Convert PDF to OFX
- Convert PDF statements to a QuickBooks-compatible format