Convert PDF statements to a QuickBooks-compatible format
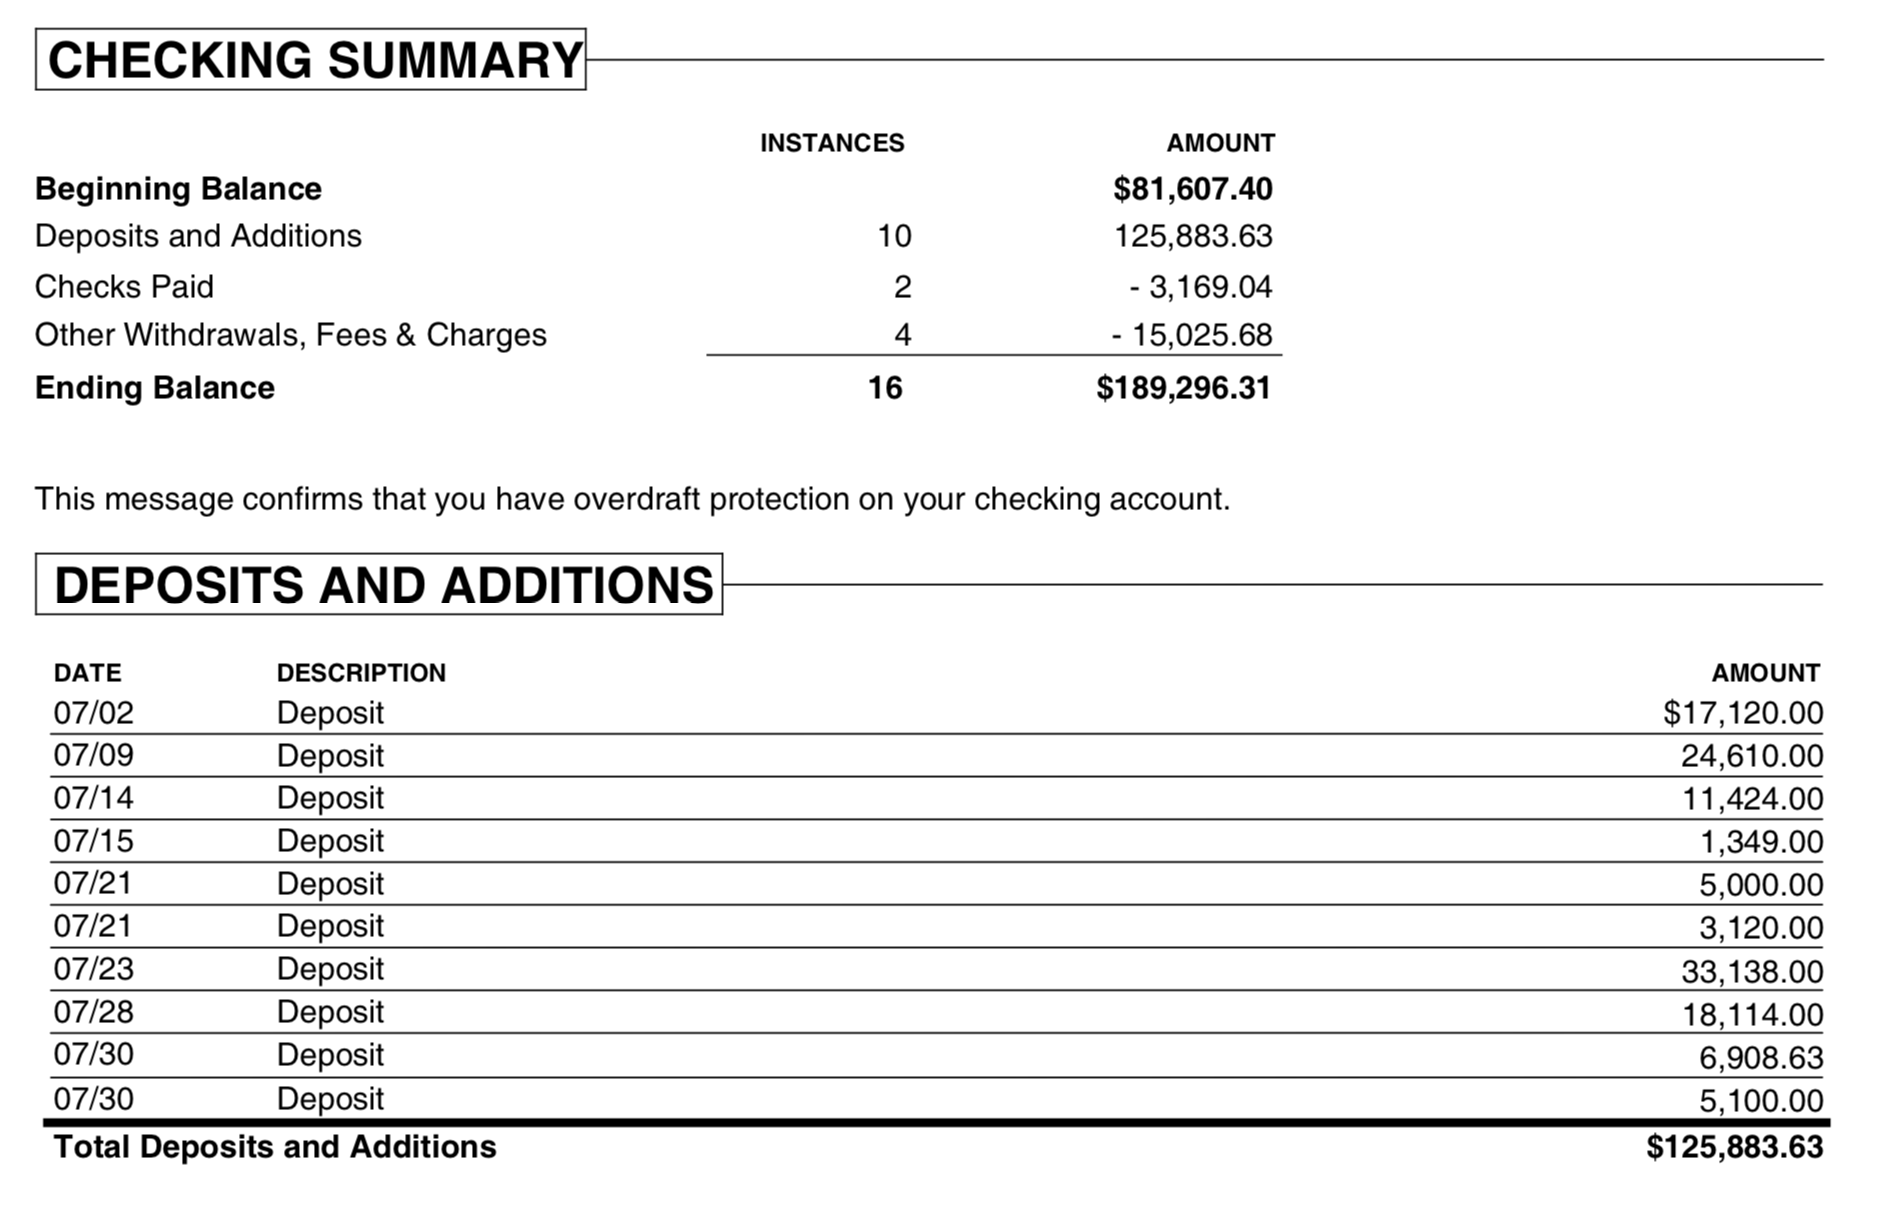
Need to import bank or credit card transactions from a PDF into QuickBooks but cannot make it work? The problem is that your bank only provides transactions in a format QuickBooks cannot read.
- QuickBooks Desktop needs QBO (Web Connect) or IIF formats
- QuickBooks Online needs OFX/QBO/QFX or CSV format.
ProperConvert app helps with converting to a file format compatible with QuickBooks Desktop and QuickBooks Online.
- QuickBooks Desktop imports QBO or IIF files
- QuickBooks Online imports OFX, QFX, or CSV files
- ProperConvert extracts transactions from PDF statements and creates files in the formats QuickBooks accepts (QBO, IIF, OFX, CSV)
- Convert your bank or credit card PDF statements into QuickBooks-compatible files
- Detects transaction details such as date, amount, description, and check number.
- Simple process: load PDF file, review transactions, click Convert.
- Free trial and support: try before you buy, with full help available anytime.
- Secure: all conversions run locally on your computer.
How can I use ProperConvert to convert from PDF to QuickBooks compatible formats?
- Download, install and run the software
- Select a PDF file with transactions and review transactions
- Backup your accounting software file before importing any file
- Click Convert to convert PDF to a QBO file, to IIF file, or to OFX or CSV for QuickBooks Online
- Import the created file to QuickBooks Desktop or QuickBooks Online
An Example: How to convert PDF to QBO for QuickBooks Desktop
This tutorial shows how to convert a PDF file with transactions to QBO (Web Connect format) and import it into QuickBooks Desktop. PDF statements contain transaction data. Extracting it saves time and manual entry.
To begin, you will need to download and install the ProperConvert app. Once the app is installed, you can start using it to convert your PDF files.
Step 1. Extract transactions from a PDF File
In this tutorial, we have a PDF from Chase Bank from 2016. The goal is to convert it to QBO (Web Connect) format and import it into QuickBooks Desktop.
Open the ProperConvert app. You will see a file selection screen. Locate and select your PDF file.
After opening the file, review how transactions are parsed. Check that dates are correct, including the month/day/year order.
To fix an incorrect year, use the 'Set year' control. If the statement spans two years, select the transactions for each year, right-click, and adjust the year.
For large PDF files, use the 'Pages' setting to limit which pages are parsed. For example, set pages 1 to 2, or 2 to 3.
You can save your 'PDF Password' so you do not need to enter it each time. Use the 'Input Dates' option to set the date format order if needed. In most cases this is not required.
For scanned, image-based, or protected PDF files, use the 'OCR' option. The parser renders the PDF as an image and reads it using optical character recognition.
If a PDF is part image and part text and is not parsing correctly, the 'OCR' option gives better results.
The 'Resolution' setting works with OCR. Some PDFs parse better at lower resolution, others at higher. Try both and see what works. After changing any settings, click 'Apply' to re-parse the file.
Step 2. Set the QBO File Attributes
Now set the Account ID and Account Type. In this example, we are converting transactions from a Chase Bank account, so we select the values for Chase Bank.
- Account ID (actual account number or any other number)
- Account Type (Checking account or credit card account, the most common)
- File Type (QuickBooks US)
- INTU.BID value
To find the INTU.BID value, type "Chase" in the search field. Look for a value with "CH" and "CC" marks. This means it supports both checking and credit card accounts. Select it and continue.
If you want to import manually, uncheck "Open After Save." This creates the QBO file without opening QuickBooks. If you leave it checked, QuickBooks will open and import the file automatically.
Once you have made your selection, click on the "Convert" button to initiate the conversion process.
Step 3. Import the QBO File into QuickBooks Desktop
After the QBO file is created, open QuickBooks Desktop and go to "File Utilities" > "Import" > "Web Connect Files." Select the QBO file.
You can import into an existing account or create a new one. For this tutorial, select "New Account" to create a separate account for the transactions.
A confirmation message appears after a successful import.
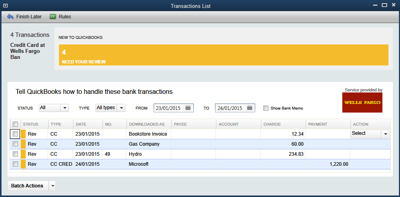
Once imported, review the transactions. Match vendor records, select expense and income accounts, and add transactions to the register. This process is the same as reviewing transactions downloaded from your bank.
Step 4. Alternative to Step 3: Import into QuickBooks Online
Go to QuickBooks Online, open "Bank Transactions," and select "Upload Transactions." Choose your bank and follow the import steps.
This process is the same whether you import from a bank or use a QBO, OFX, or CSV file. From there, categorize transactions, assign vendors, and add them to the register.
Learn More
- QBO - What is QBO (web connect) file format?
- QFX - What is QFX file/format and how to open it?
- OFX - What Is OFX File Format and How to Open it?
- IIF - What Is IIF File Format and How to Open it?
- QuickBooks - How to import transactions into Quickbooks
- QuickBooks Desktop - How to Import Bank Transactions into QuickBooks Desktop
Related articles
- Convert CSV/Excel to IIF and import into QuickBooks
- Convert CSV/Excel files to OFX and import into Quickbooks Online, Xero, Microsoft Money
- Convert CSV to QBJ and Import into Quickbooks Desktop
- Convert CSV/Excel to QBO and import into QuickBooks
- What are OFX, QFX, QBO (Web Connect) files?
- How to Convert Bank Statement PDF to CSV
- Convert PDF to OFX