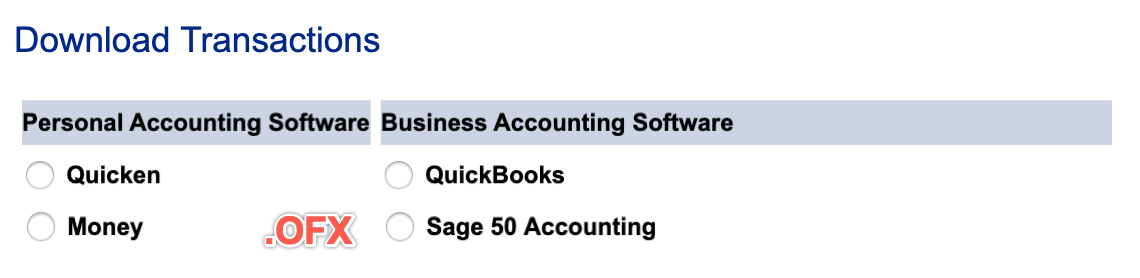
What are OFX, QFX, QBO (Web Connect) files?
OFX, QFX, QBO files are transaction files used to receive information from financial institutions. QFX and QBO files are essentially OFX files with additional details added as the OFX specification allows formats extensions:
- QFX files are Quicken OFX or Quicken Web Connect files
- QBO files are Quickbooks OFX or Quickbooks Web Connect or Intuit Web Connect files
You can open QBO, QFX, and OFX files in any text editor, but they are hard to edit. Accounting apps prefer these formats because they store transaction data in a fixed structure, unlike CSV or Excel. To edit the data before importing, convert to CSV first, then convert back.
These three formats share the same OFX spec, so many apps can import all three. But some apps only accept one format, so you may need to convert:
- Quicken would import only QFX, but not OFX or QBO
- Quickbooks Desktop would import only QBO, but not OFX or QBO (Quickbooks Online fixed the issue and imports all three)
Some older personal finance and accounting software may prefer another format, QIF (Quicken Interchange format), and you may need to convert OFX/QFX/QBO files to QIF.
Accounting apps almost never export in OFX, QFX, or QBO formats. Those formats are meant for bank responses. Apps typically export in QIF instead. So you may need to convert QIF files to OFX, QFX, or QBO to import into Quicken, QuickBooks, or other apps.
Some transformations below you may find useful:
- OFX to QFX
- OFX to QBO
- QFX to QBO
- QBO to QFX
- OFX, QFX, QBO to CSV
- CSV to OFX, QFX, QBO
- QIF/QMTF to OFX, QFX, QBO
- QBO, QFX, OFX to QIF
- PDF to OFX, QFX, QBO
When you convert transactions, follow these simple guidelines:
- Preview before converting: See transactions in a readable table before you convert.
- Easy to convert: Load the file, review it, and click Save.
- Select or skip: Leave out transactions you do not want to import.
- Automate: The converter supports command-line automation.
Let's look at each conversion variant after defining each format.
What is OFX file/format?
OFX stands for Open Financial Exchange. It is a format for sharing financial data between apps and banks. Apps like QuickBooks, Quicken, and Microsoft Money use OFX to import and export transactions, account details, and bill payments.
OFX uses XML tags to structure the data. This lets different apps read it in a standard way. OFX files can include bank, credit card, investment, and other transaction data.
To import an OFX file into your accounting app, go to File > Import and select the file. To download one from your bank, log in, go to the download or export section, and choose OFX as the format.
What is QFX file/format?
QFX is based on the OFX format. It is an open standard supported by many personal finance and accounting apps. QFX files carry transactions, account data, and investment or tax info. Apps like Quicken and Microsoft Money support QFX. QFX files are the offline WebConnect format for Quicken.
What is a QBO (web connect) file/format?
QBO is the QuickBooks version of the OFX format. It stores transactions, account balances, and bank records. You can download a QBO file from your bank and import it into QuickBooks or another app. To use QBO data in Excel, convert it to CSV. To use it in Quicken, convert to QFX or QIF.
What is Web Connect Quicken/Quickbooks?
WebConnect links Quicken or QuickBooks to your bank or credit card account. It lets you download transactions directly into the app. To set it up, update your software, go to the Banking menu, and select Add Account > WebConnect. Follow the steps to connect your account.
Once set up, transactions download without manual entry. WebConnect also categories transactions based on your rules. Your login stays secure because you log in through your bank's own website. QBO files are the offline version of WebConnect for QuickBooks.
Convert OFX to QFX
ProperConvert converts OFX files to QFX quickly. Load your OFX file, and the app creates a QFX file ready for Quicken.
You will need to set INTU.BID and may adjust account ID, bank ID, branch ID and the currency.
Convert OFX to QFX (Web Connect) and import into Quicken
Follow the steps as an example for OFX to QFX conversion and import into Quicken:
- Start the converter and select an OFX file
- Review transactions before converting
- Set INTU.BID value for any allowed bank
- Click the 'Convert' button to create a QFX file
- Switch to Quicken. Click 'File' - 'File Import' - 'Web Connect (.QFX) File' and 'Open'.
- Select 'Create a new account' or 'Link to an existing account'.
- Once the transactions are imported, select 'Accept All'.
If you imported into a new account, you can right-click to select all transactions and move them to another account.
As an option, import into a proxy account named 'Import', then move transactions where you need them. This is useful if you already have an account with direct bank downloads. You can also choose 'Link to an existing account'. That account must be deactivated from direct download first. Click Import.
Convert OFX to QBO
ProperConvert converts OFX files to QBO for QuickBooks. Load your OFX file and the app creates a QBO file. Like QFX files, QBO files need an INTU.BID value. You can also adjust account ID, bank ID, branch ID, and currency.
Convert QFX to QBO
ProperConvert converts QFX files to QBO so you can import them into QuickBooks. You can change the INTU.BID value, account ID, bank ID, branch ID, and currency as needed.
Convert QBO to QFX
ProperConvert converts QBO files to QFX for Quicken. You can change the INTU.BID value, account ID, bank ID, branch ID, and currency as needed.
Convert OFX, QFX, QBO to CSV
ProperConvert converts OFX, QFX, and QBO files to CSV. Open the CSV in Excel or another spreadsheet app to review or analyze your data.
Convert CSV to OFX, QFX, QBO
ProperConvert also converts CSV files to OFX, QFX, and QBO. This is useful when your data is in CSV but your accounting app needs OFX, QFX, or QBO. Edit your data in Excel first, then convert and import.
Convert QIF/QMTF to OFX, QFX, QBO
ProperConvert converts QIF files to OFX, QFX, and QBO. If you are moving from an older app, use its export-as-QIF option. Some apps export as QMTF, which ProperConvert also supports.
Convert QBO, QFX, OFX to QIF
ProperConvert converts QBO, QFX, and QBO files to QIF. If your app uses QIF, convert your bank's OFX, QFX, or QBO files to QIF. The QIF format covers most of the details found in OFX/QFX/QBO files.
Convert PDF to OFX/QFX/QBO
If you only have PDF files, ProperConvert can extract the transaction data and convert it to OFX, QFX, or QBO. Load your PDF and choose the output format. This is useful for turning paper statements into a format your accounting app can import.
Learn More
- QBO - What is QBO (web connect) format
- QFX - What is QFX file/format and how to open it?
- OFX - What Is OFX File Format and How to Open it?
- QIF - What is QIF file/format and how to open it?
- Quicken - How To Import QIF or QFX into Quicken
- QuickBooks - How to import transactions into Quickbooks
- QuickBooks Desktop - How to Import Bank Transactions into QuickBooks Desktop
Related articles
- Convert CSV/Excel to IIF and import into QuickBooks
- Convert CSV/Excel files to OFX and import into Quickbooks Online, Xero, Microsoft Money
- Convert CSV/Excel to QBO and import into QuickBooks
- How to Convert CSV to QFX Quickly and Easily
- Convert CSV/Excel to QIF and import into Quicken, Banktivity, MYOB #quicken
- How to Convert Bank Statement PDF to CSV
- Convert PDF to OFX